Last year I actually did a lot of projects. (I just didn’t post about them.) A few involved plumbing; each ultimately resulted in calls to a plumber. The trauma is too great to relive, but let’s just say that I have learned to let professionals handle the things I cannot. And that is anything that involves water.
Around Thanksgiving, we noticed the kitchen faucet was starting to get loose. It was about 15 years old, but it wasn’t leaking, was not an emergency, and I know others do have emergencies at this time of year. I figured after Christmas I would either fix it or replace it myself. We needed a new side sprayer, anyway, so I’d do it all at once.
I took a look at the underbelly of the sink. I tried to turn off the water supply, but the valves didn’t work. And I remembered that I don’t do plumbing. Especially not water shut off valves.
I finally decided that I might as well just get a new faucet and sprayer. Based on last year’s jobs, I estimated how much it might cost, and kept putting it off. Then I found a licensed plumber on NextDoor, recommended by several neighbors, and contacted him. He was really smart, and his price was much lower than I was braced for.
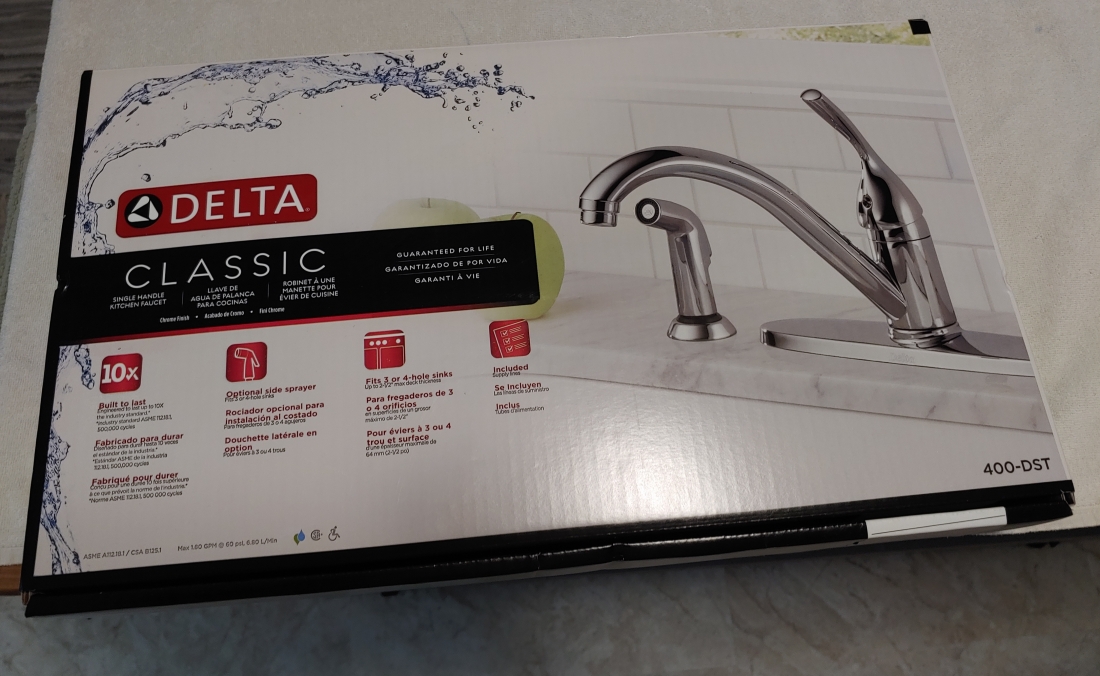
I had a time deciding which faucet to get. I finally settled on a Delta Classic 400-DST Faucet with a side sprayer. I’m just not a fan of the faucets with the built in sprayers. I know how we use our sink, and the side sprayer works best for us. And, you can’t go wrong with a Classic, right? I had another one in mind, but this one was a better value for our needs. Heck, I don’t have a fancy gourmet kitchen.

I got the faucet, and the plumber came as scheduled. He even asked if he could come 15 minutes early, which rarely happens. My biggest task after getting the faucet was to turn off the water supply to the whole house and drain the lines right before he arrived.
It turns out that working shut off valves are not subject to code here, and the setup under my sink was just fine, no leaks. So the plumber recommended not replacing them. He did make sure everything was running properly, including supply to the dishwasher. That knocked half off his fee! (This is a local guy, a licensed plumber, who does small jobs like this on the side. He is a helpful neighbor.)
So for the faucet kit and the install, I ended up only paying out about one third of what I initially expected. Total Cost: $243! Yes, I really did budget $750 for the job originally, based on including the shutoffs, my past plumber experience and the going price of my dream faucet.
The new faucet and sprayer are much better than the old ones ever were. I asked how long they should last, and the plumber said built-in obsolescence was about 10 years. He said he was surprised our old one lasted as long as it did. Delta is a good, sturdy brand, and we can feel it when we use the faucet and sprayer. For a 10-year life, I can’t see spending $200.
Sometimes you have to know when to fold ’em, and call the professional. I am so very glad I did. He had to use a special tool to saw off the old parts, and he was contorted up under the cabinet for about an hour total. I don’t I would have handled the project well at this age. I certainly would not have survived the contortion. The cost, a really nice surprise, was well worth it.
Isn’t it terrific when you find a contractor you work well with, who realizes you know what you’re talking about, and who is fair and helpful? My list is growing.

I only promote products I have used and feel comfortable promoting. This post contains affiliate links. This means I may earn a commission should you chose to sign up for a program or make a purchase using my link.